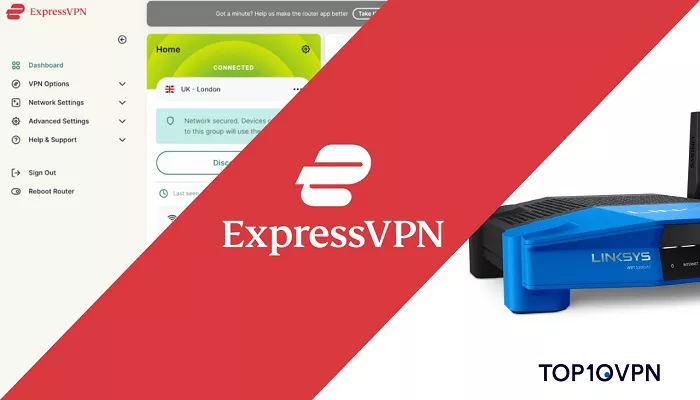
Adding ExpressVPN to your WiFi network is a great way to protect all your connected devices at once. This comprehensive guide will walk you through the entire process step-by-step. Whether you want to secure your home network or set up a VPN on your router while traveling, we’ve got you covered with easy-to-follow instructions.
Why You Should Add ExpressVPN to Your WiFi
Before we dive into the setup process, let’s explore why adding ExpressVPN directly to your WiFi makes sense:
Whole Network Protection
When you configure ExpressVPN on your router, every device connected to your WiFi gets automatic VPN protection. This includes smart TVs, gaming consoles, and other devices that normally can’t run VPN software.
No Need for Multiple Logins
You won’t need to install the VPN separately on each device. Once set up on your router, all traffic is encrypted automatically.
Continuous Security
Your connection stays protected even when adding new devices to your network. This is much more convenient than using a VPN service on individual devices.
Checking Router Compatibility
Not all routers support VPN connections. Here’s how to check if yours is compatible:
ExpressVPN-Compatible Routers
ExpressVPN provides firmware for these router brands:
- Asus (RT-AC56U, RT-AC68U, etc.)
- Linksys (WRT1200AC, WRT1900AC, etc.)
- Netgear (Nighthawk R7000, R6400, etc.)
Alternative Solutions
If your router isn’t compatible, you can:
1. Flash it with DD-WRT or Tomato firmware
2. Buy a pre-configured ExpressVPN router
3. Use the VPN for iPhone or other device apps instead
Step-by-Step Setup Guide
Follow these detailed instructions to add ExpressVPN to your WiFi router:
Step 1: Gather Your ExpressVPN Credentials
You’ll need:
Your ExpressVPN username and password
The OpenVPN configuration files (available in your account dashboard)
Step 2: Access Your Router’s Admin Panel
1. Connect to your WiFi network
2. Open a browser and enter your router’s IP address (usually 192.168.1.1 or 192.168.0.1)
3. Log in with admin credentials
Step 3: Configure VPN Settings
1. Navigate to VPN or Security settings
2. Select OpenVPN Client
3. Upload the ExpressVPN configuration file
4. Enter your username and password
5. Save settings and connect
Testing Your VPN Connection
After setup, verify everything works properly:
Connection Test
1. Visit ExpressVPN’s IP check page
2. Confirm the IP address matches your chosen VPN location
3. Run a DNS leak test to ensure complete privacy
Troubleshooting Tips
If you encounter issues:
- Restart your router
- Try a different VPN server location
- Update your router’s firmware
- Contact ExpressVPN support
Advanced Configuration Options
For power users, consider these enhancements:
Split Tunneling
Route only specific devices through the VPN while others use your regular connection.
VPN Kill Switch
Configure your router to block all traffic if the VPN connection drops unexpectedly.
Multiple VPN Profiles
Set up different VPN connections for various purposes (streaming, security, etc.).
Maintaining Your VPN Connection
Keep your router VPN running smoothly:
Regular Updates
Check for firmware updates monthly to ensure security and performance.
Server Optimization
Periodically test different VPN servers to find the fastest connection.
Security Checks
Run monthly connection tests to verify no leaks exist.
Conclusion
Adding ExpressVPN to your WiFi router provides comprehensive protection for all your connected devices. While the initial setup requires some technical steps, the long-term benefits of whole-network security make it worthwhile. Remember that router-based VPNs may slightly reduce internet speeds, but the privacy and access benefits typically outweigh this minor drawback. For those who prefer simpler solutions, using ExpressVPN’s apps on individual devices remains an excellent alternative.


